
Wondering where to place a radon detector in your home? Strategic placement is key to getting accurate results and ensuring safety. This article covers optimal locations, important rooms, and tips for different home types. Learn the best spots to monitor radon levels effectively.
Key Takeaways
-
Radon detectors should be placed in high-traffic areas such as bedrooms and living rooms, preferably on the lowest occupied level, to ensure accurate detection of radon gas.
-
Basements are critical locations for radon testing due to higher concentrations; detectors should be centrally placed away from windows and exterior walls to enhance accuracy.
-
Seasonal factors, especially humidity and winter heating, significantly affect radon levels, making it essential to conduct long-term testing for reliable monitoring and potential mitigation actions.
-
It is recommended to test both new and old parts of the building, as well as living spaces with possible high radon concentrations, to ensure a thorough assessment.
-
While short-term measurements can provide quick insights using alpha track detectors and electret ion chambers, they are not suitable for making informed mitigation decisions.
Understanding Radon Testing
Radon testing is a crucial step in determining the levels of radon in your home. Radon is a naturally occurring radioactive gas that can accumulate in enclosed spaces, posing a significant health risk to occupants. Understanding radon testing is essential to ensure accurate results and effective mitigation. Here are some key aspects of radon testing:
-
Types of Tests: Radon testing can be performed using various methods, including short-term and long-term tests. Short-term tests typically measure radon levels for 2-7 days, providing a quick snapshot of radon concentration.
-
Test Placement: Radon testing should be performed in the lowest lived-in level of your home, typically the basement or crawlspace. This is because radon gas enters from the ground and accumulates in lower areas. Following the manufacturer’s instructions for test kit placement and testing procedures is essential to ensure accurate results.
-
Importance of Long-Term Testing: While short-term tests can provide immediate insights, long-term tests are more accurate and reliable. They account for fluctuations in radon levels due to seasonal changes, providing a comprehensive view of the radon exposure in your home over time.
By understanding these key aspects of radon testing, you can ensure that you are taking the necessary steps to protect your home and loved ones from the dangers of radon exposure.
Optimal Rooms for Radon Detectors
It is crucial to select appropriate spots for the installation of radon detectors. Positioning them in areas frequently used by individuals assures precise readings, which are vital for implementing effective countermeasures against radon exposure. The most suitable places within a home tend to be bedrooms and living rooms, as these spaces are commonly used for relaxation and social activities. It’s important that these detectors are set up on the lowest level of occupancy since this is typically where radon enters from below ground.
A defined test period is essential for accurately assessing radon levels. Ensure the integrity of the test period by following the manufacturer's instructions for proper deployment and analysis of the radon detection equipment.
The presence of heightened moisture levels indoors can result in greater accumulation of radon gas, thereby increasing its concentration. Hence, when deciding on placement locations for your radon detectors, it’s not only about selecting high-traffic zones but also taking into account how environmental variables might influence measurement outcomes.
Finally, we will offer detailed recommendations regarding focusing on areas with significant use patterns as well as factors related specifically to basements when positioning your radon detectors.
Prioritizing High-Use Areas
To properly evaluate the risk of radon exposure, position radon detectors in rooms where people spend considerable time. The optimal location for these detectors is typically the central living space on the lowest inhabited floor, such as a main living room or a bedroom that’s regularly used. It is crucial to test for radon in these high-use areas to ensure safety from potential health risks.
Install the initial radon detector in your home at its lowest point—often this will be the basement—as it’s likely to have elevated levels of radon due to its proximity to soil and rock sources. Ensure that this detector is not placed near windows or doors, as drafts can affect its ability to accurately measure radon levels.

Special Considerations for Basements
Due to their proximity to the soil, basements frequently exhibit elevated radon levels and are therefore essential locations for conducting radon tests. The infiltration of this gas through foundational fissures can lead to significant accumulation in basements that lack adequate ventilation. Initiating your testing efforts in the basement can alert you early on if there’s an issue with radon within your dwelling. Experts recommend testing in basements due to their potential for higher radon levels.
For accurate assessment when deploying a radon detector in your basement, position it centrally within the space, steering clear of both exterior walls and windows as these could distort readings. To gain a thorough grasp of the presence of radon throughout your home, extend testing beyond just the basement area and include evaluations performed on main floor spaces as well.
Placement Tips for Different Home Types
Different types of homes require unique strategies for placing radon detectors. Whether your house has a basement, extensions, or is particularly large, the placement of radon detectors should be tailored to ensure comprehensive monitoring. It is also crucial to test for radon in various home settings, including basements and extensions, to ensure safety from potential health risks. Avoid placing detectors near windows or exterior walls to prevent inaccurate readings caused by external air influences.
The structural features of your home will guide optimal detector placement. Here are specific recommendations for homes with basements, extensions, and larger residences.

Testing Homes with Basements
Perform testing for radon in the basement and other areas situated at the lowest level of your structure, including crawl spaces. When setting up radon detectors, take into account the distinctive architectural characteristics specific to each home. A defined test period is crucial for accurately assessing radon levels, as it ensures the integrity of the measurement process.
Install the detector in a central location within the room where you spend most of your time—ideally this would be in basements or on lower floors—ensuring it is positioned away from any drafts and exterior walls. Such placement guarantees that detector readings accurately represent radon levels in these commonly occupied areas.
Radon Detection in Homes with Extensions
When examining homes with extensions, it’s crucial to address the distinct difficulties they pose in detecting radon. Because of the differences in ventilation and construction between the original structure and added sections, tests should be conducted in each area.
Strategic placement of detectors is essential, taking into account the architectural design and airflow throughout various parts of the house. It is important to position these detectors within both existing and newly constructed areas to effectively monitor indoor radon levels for a complete assessment. Experts recommend testing in both new and old parts of the building, as well as in living spaces with possible high radon concentrations, to ensure thorough assessment and safety.
Large Homes and Multiple Detectors
For homes with substantial square footage, it is advisable to use extra detectors, one for every 2,000 square feet of space, to achieve thorough monitoring of radon levels. By distributing several detectors throughout vast living spaces, a wider spectrum of radon measurements can be obtained. While short-term measurements can provide quick insights, they are not suitable for making informed mitigation decisions in large homes.
To ensure precise evaluations of radon levels across extensive properties, position a detector in each regularly used room on the ground floor that spans over 2,000 square feet. This strategy assists in preserving consistent and accurate assessments of radon presence within the residence.
Room-Specific Placement Guidelines

Ensure that radon detectors are placed in areas with sufficient room and low interference to avoid false readings. Keep the devices away from drafts, heating vents, or air conditioning systems as these can affect air flow patterns and distort radon levels.
To obtain accurate measurements, position the detectors at a distance from doors and windows that might be opened frequently. This helps prevent external fresh air from affecting the results. It’s also important to situate them where everyday activities within the room won’t disrupt their operation.
A defined test period is crucial for accurately assessing radon levels in specific rooms. This ensures the integrity of the measurements and proper analysis of the radon detection equipment.
Ideal Height and Positioning
To capture air quality accurately, detectors should be positioned between 1 and 1.5 meters above the floor level. This positioning allows the detector to assess the quality of air that is breathed in by room occupants, instead of sampling nearer to either the ground or ceiling where the air may not reflect overall room conditions.
Ensure that you place detectors in locations shielded from drafts, sources of heat, and direct sunlight for more reliable outcomes. Adherence to these placement tips will facilitate consistent and precise readings of radon levels.
Avoiding Common Mistakes

Positioning radon detectors close to windows, doors, or outside walls may result in skewed readings owing to the influence of outside air movement. This frequent oversight can greatly compromise the trustworthiness of your assessments regarding radon levels.
Installing detectors in proximity to heat sources or areas prone to drafts like heaters or air conditioners might disrupt their ability to precisely gauge indoor radon concentrations. Strategic placement is vital for effective surveillance and plays a critical role when determining necessary actions for mitigating radon exposure.
Seasonal and Environmental Factors
Environmental conditions and seasonal variations significantly impact the concentration of radon within a residence. Short-term measurements may not account for seasonal variations and are not suitable for making informed mitigation decisions. After implementing mitigation strategies, it is advisable to perform long-term testing for radon to guarantee that the levels remain safe across various seasons throughout the duration of the test.
The amount of radon detected can be considerably affected by factors such as temperature, humidity, and airflow. Specifically, during periods of heating or instances with elevated moisture in the air (high humidity), these influences are particularly notable on recorded radon levels.
Impact of Heating Season
It is crucial to conduct radon tests during the winter as radon concentrations can increase when homes are closed off from the cold. This intensification of radon levels occurs because of the stack effect, whereby warm air rising in a home draws more radon up from the ground into living spaces, especially during the heating season.
Consequently, performing these tests in winter offers a setting that most accurately reflects potential maximum indoor radon levels. Less ventilation during colder months ensures that testing captures an environment where high concentrations of this gas might be found at their peak inside homes. Additionally, a defined test period during the heating season is essential for accurately assessing radon levels, as it helps maintain the integrity of the test and ensures proper deployment and analysis of radon detection equipment.
High Humidity and Air Flow Considerations
High humidity can cause a rise in radon levels, especially within confined spaces. It is crucial to control both humidity and airflow because they greatly influence the measurements of radon.
To obtain precise readings, it’s important to position radon detectors in locations where humidity is regulated. Adequate ventilation aids in keeping radon levels stable by avoiding the buildup of this gas.
Understanding Your Radon Test Results

Understanding the implications of radon test results is crucial for assessing health risks and determining appropriate measures to take. The amounts of radon can vary with the seasons, influenced by changes in ventilation, heating, and atmospheric pressure.
Typically, there’s a rise in radon concentrations during the winter period as a result of alterations in atmospheric pressure coupled with the impact of heating systems within homes. We will explore what various levels of radon signify and what actions should be pursued if test results reveal elevated levels of radon.
What Radon Levels Mean
Homeowners should act swiftly to implement mitigation measures when radon levels reach or exceed the threshold necessitating action. Elevated concentrations of radon pose a substantial health risk, particularly if exposure is extended over time.
To maintain safety and adhere to both WHO standards and local rules, it’s essential to persistently monitor for radon. In instances where monitoring reveals that radon levels meet or exceed the recommended limits for taking action, homeowners must promptly employ strategies to lower their exposure by installing mitigation systems.
Steps After Receiving High Radon Levels
Should radon levels be detected at a range of 2 to 3.9 pCi/L, it may be wise to implement a radon mitigation system for added security. When levels exceed the threshold of 4 pCi/L, installing such a system is strongly advised. Employing straightforward approaches like fitting vent pipes or fans can have an impact in diminishing high radon concentrations.
Implementing these measures typically yields considerable reductions in indoor radon levels, contributing to improved safety within the environment. It’s also advisable to conduct periodic testing for radon as a way to ensure that the mitigation efforts remain effective over time.
Additional Resources for Radon Testing
If you’re looking for more information on radon testing, here are some additional resources:
-
Environmental Protection Agency (EPA): The EPA provides comprehensive information on radon testing, including guidelines for testing and mitigation. Their website offers valuable resources for homeowners looking to understand and address radon issues.
-
National Radon Safety Board (NRSB): The NRSB offers resources on radon testing, including a directory of certified radon professionals. This can be particularly useful if you need professional assistance with radon testing or mitigation.
-
American Lung Association (ALA): The ALA provides information on radon and lung cancer, including resources for testing and mitigation. Their focus on the health impacts of radon makes them a valuable resource for understanding the risks and necessary precautions.
-
Local Health Departments: Your local health department may also offer resources and guidance on radon testing and mitigation. They can provide region-specific information and support to help you address radon concerns in your area.
These resources can provide you with the information and support you need to effectively test for and mitigate radon in your home.
Advanced Monitoring with Aero Q4 and Aero Q8
Sophisticated devices such as the Aero Q4 and Aero Q8 deliver extensive options for controlling radon levels along with other aspects of indoor air quality. These systems present accessible interfaces and high-end functionalities to assist homeowners in steering clear of health complications associated with radon.
Let’s examine the advantages offered by the Aero Q4 alongside the all-encompassing monitoring functions available through the use of an Aero Q8.
Benefits of Using Aero Q4
With its intuitive user interface, Aero Q4 offers straightforward access to information on air quality. Its small size ensures it can be conveniently positioned in numerous spots with minimal instruction required.
Accompanying the device is a mobile application that facilitates distant tracking and notifications related to shifts in indoor air purity. Beyond gauging radon levels, the Aero Q4 also serves as a hygrometer by assessing moisture content in the atmosphere.
Comprehensive Monitoring with Aero Q8
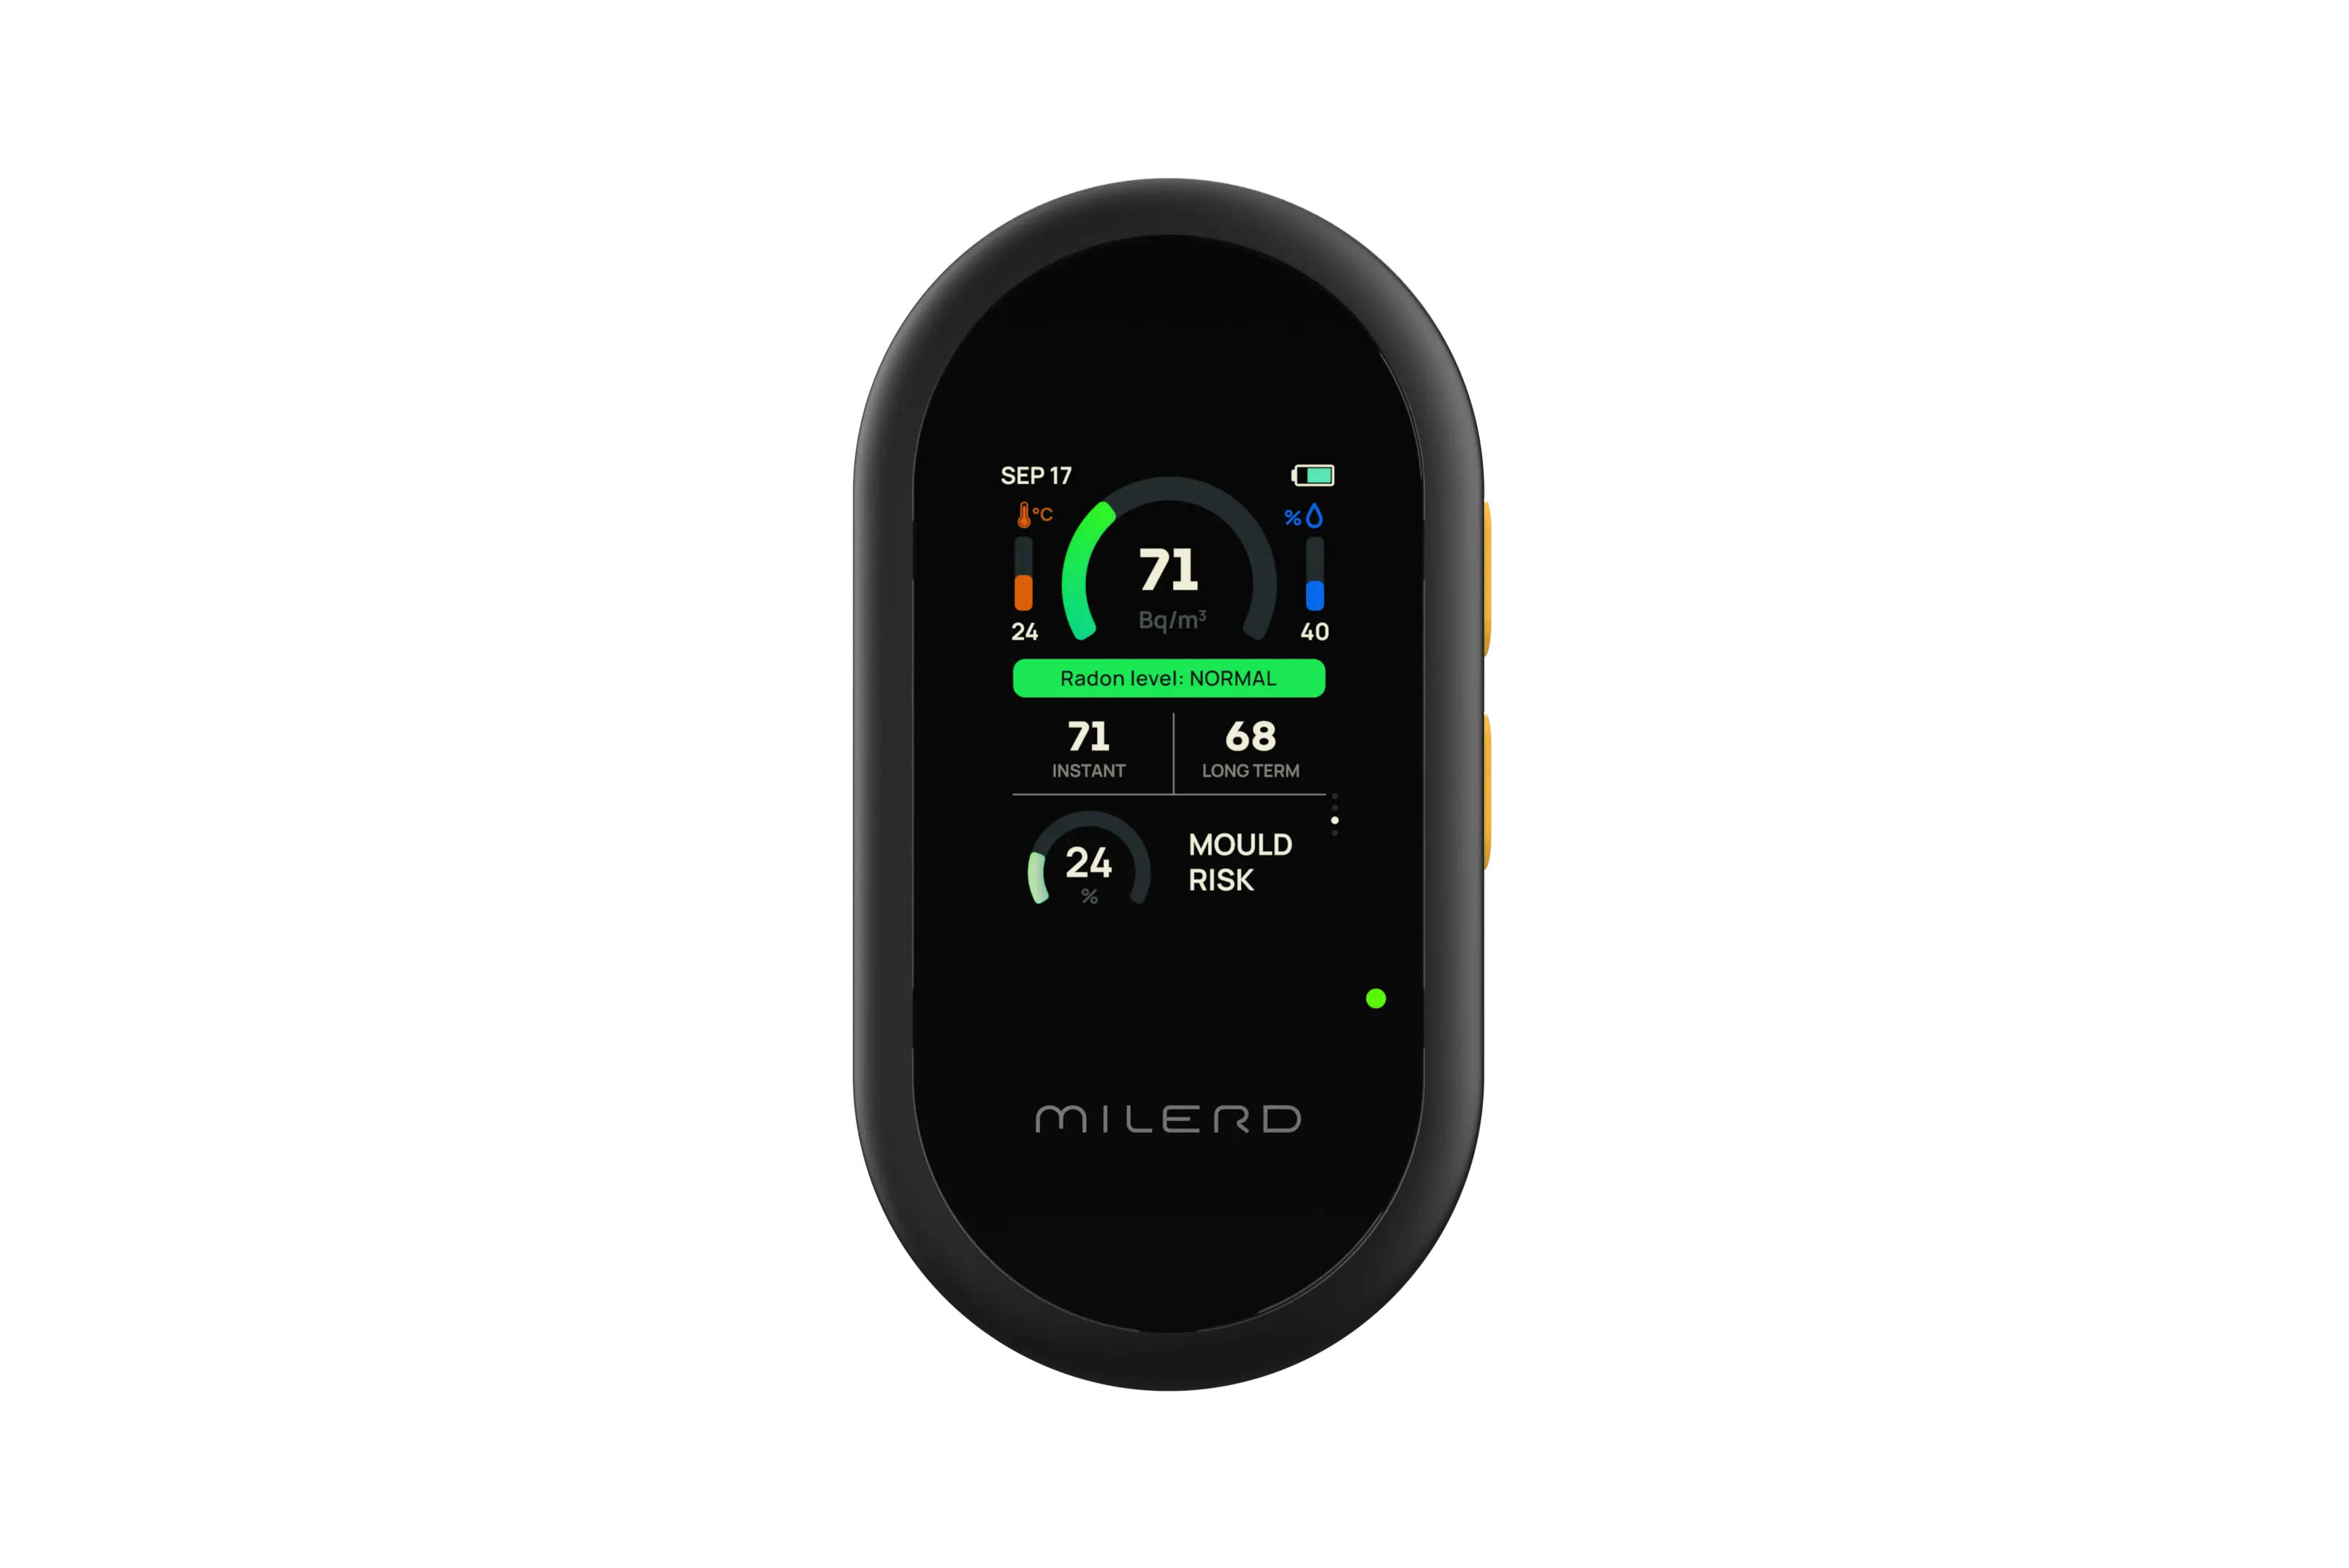
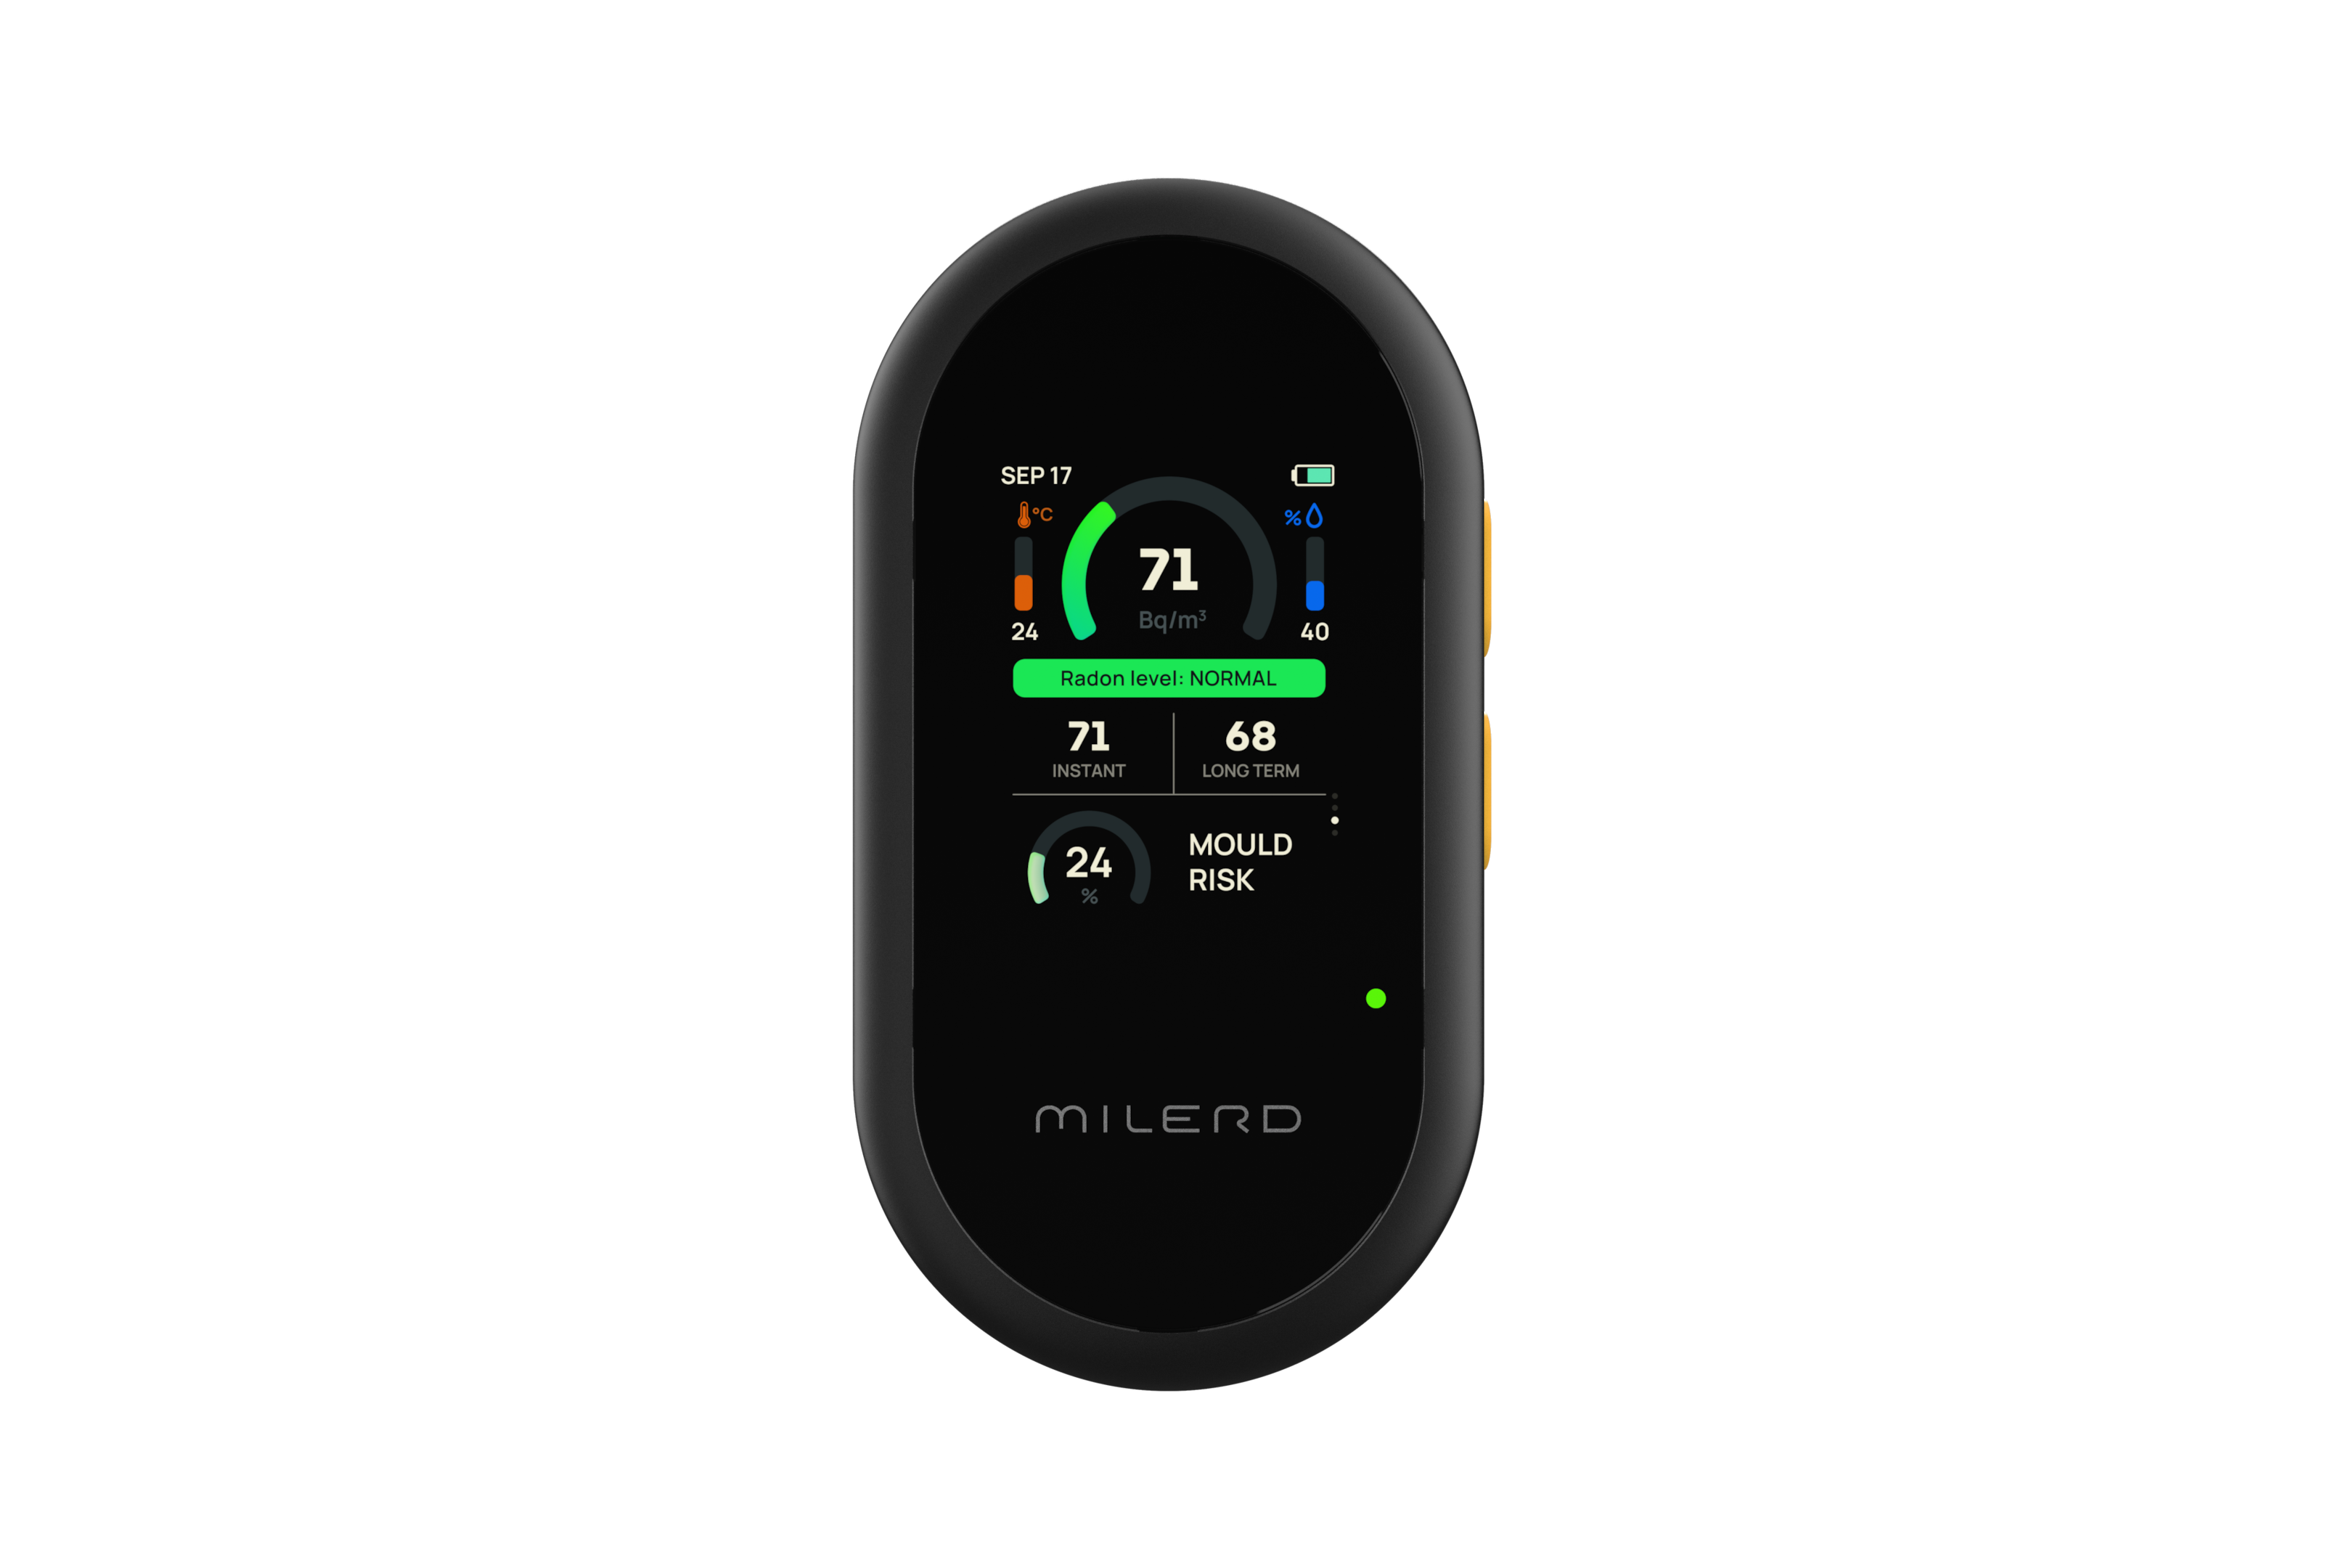
The Aero Q8 measures radon levels, humidity, temperature, mold risk, particulate matter (PM 1, PM 2.5, PM 10), and volatile organic compounds (VOCs). It automatically provides text, light, and sound warnings when radon concentration exceeds safe levels.
This device can store one year of monitoring data and has a user-friendly interface with wireless connectivity for remote monitoring via a smartphone app. These features make the Aero Q8 an essential tool for ensuring optimal indoor air quality.
Summary
Summarizing the key points, placing radon detectors in high-use areas and basements is crucial for accurate readings. Homes with extensions and large residences require multiple detectors to cover all living spaces effectively. Seasonal and environmental factors like heating season and humidity significantly influence radon levels, necessitating regular monitoring.
Advanced devices like Aero Q4 and Aero Q8 provide comprehensive solutions for monitoring indoor air quality. They offer user-friendly interfaces, real-time data access, and multiple environmental parameter measurements. Investing in these devices can significantly enhance your home’s safety, ensuring a healthier living environment.


Leave a comment
This site is protected by hCaptcha and the hCaptcha Privacy Policy and Terms of Service apply.